Prototypes are early models of a product that simulate its design and functionality. They are created to test concepts, gather feedback, and iterate on the design before the final product is developed.
Prototyping, on the other hand, is the experimental process of making prototypes. Teams build prototypes of varying degrees of fidelity, from low-fidelity paper prototypes to high-fidelity digital models that closely resemble the final product.
“They slow us down to speed us up. By taking the time to prototype our ideas, we avoid costly mistakes such as becoming too complex too early and sticking with a weak idea for too long.”
— Tim Brown, CEO & President of IDEO
Discover how prototyping can help you access your users to fine-tune ideal products.
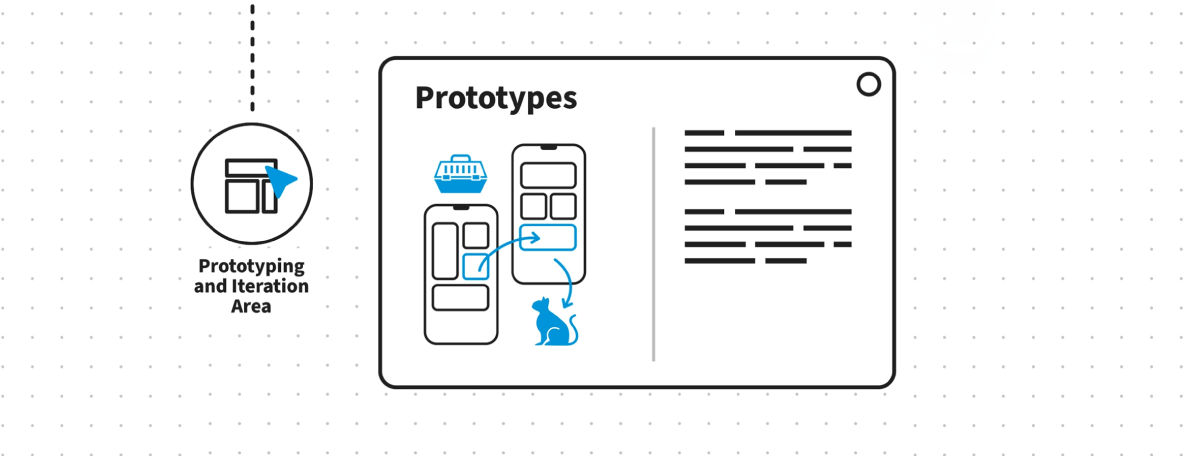
The Power of Prototypes: The Benefits That Drive Innovation
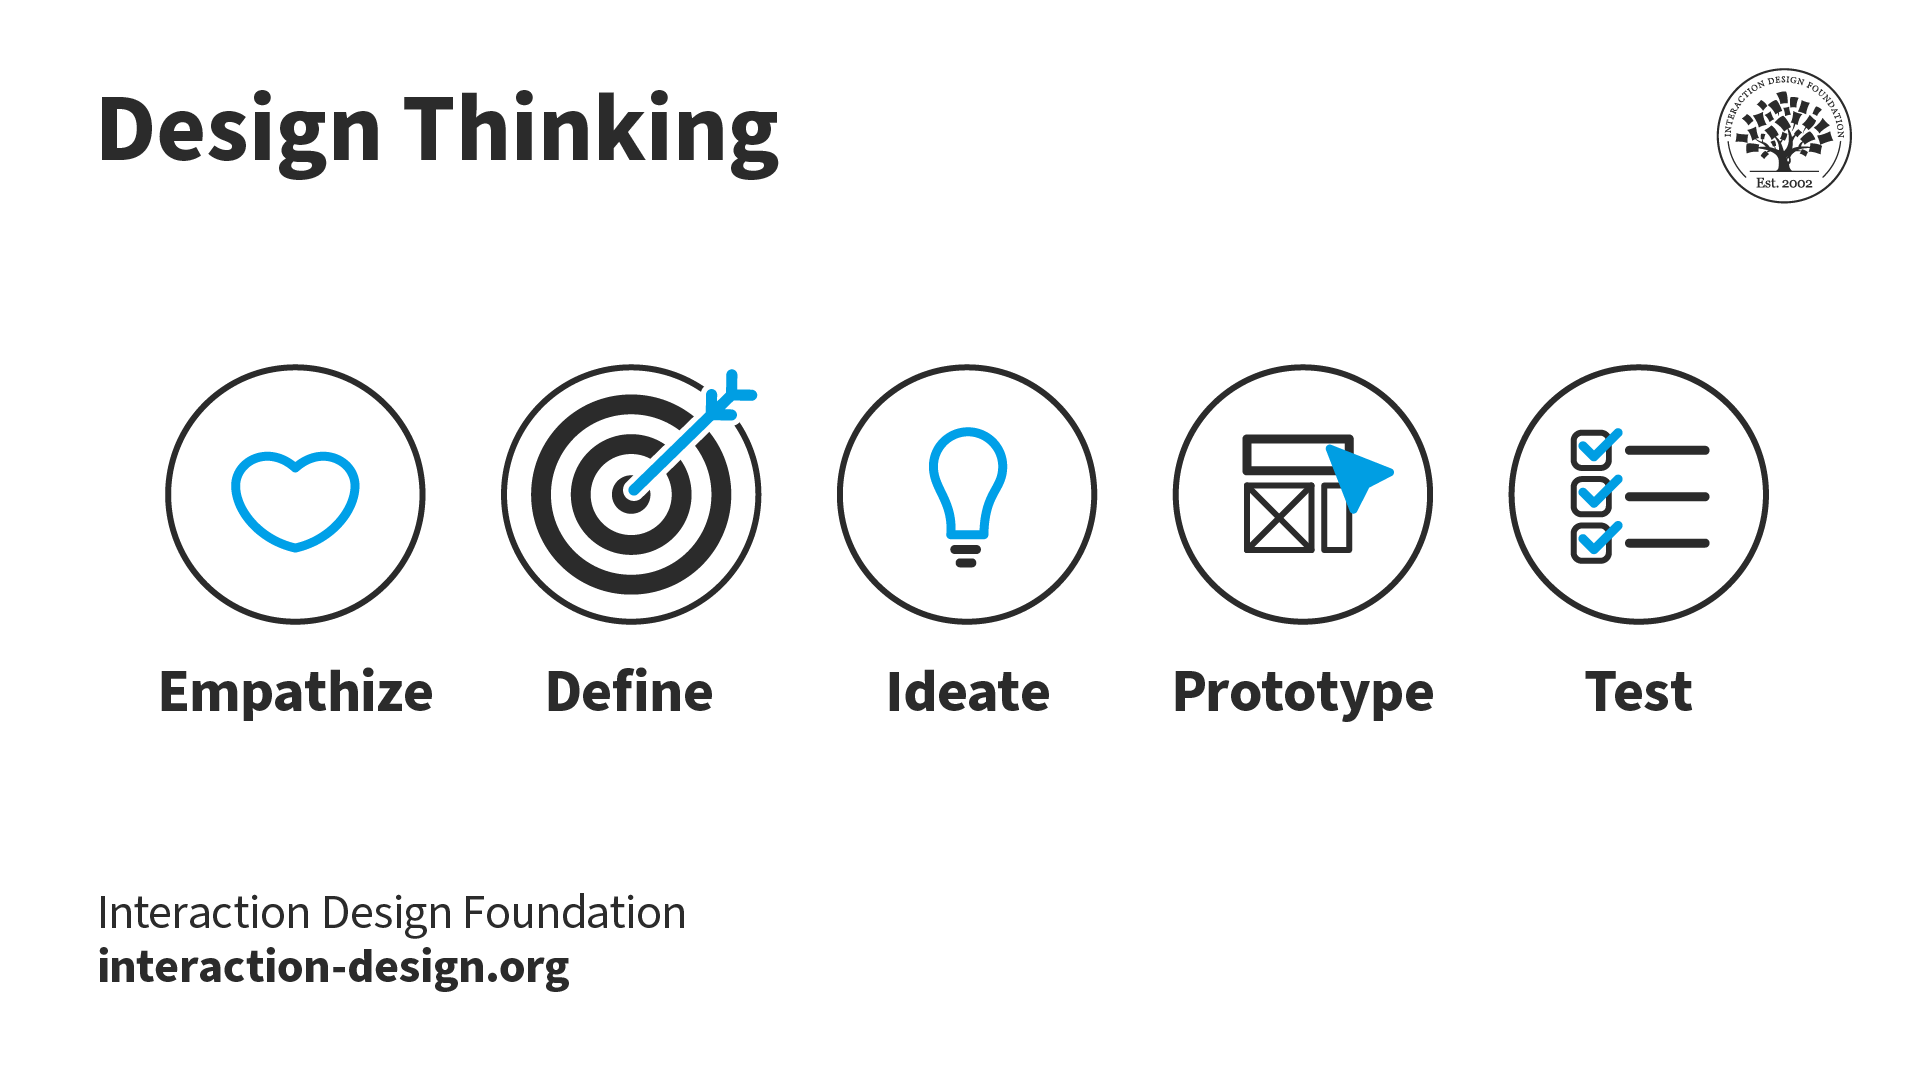
Prototyping is the fourth phase of both design thinking and design sprints. It’s an essential part of user experience (UX) design that usually comes after ideation, where a designer or design team have created and selected ideas that can solve users’ needs. In prototyping, designers craft a simple experimental model of their proposed product. This allows them to assess how well the product aligns with user needs and expectations through valuable user feedback. Designers should incorporate prototyping into their process from the early stages, even using paper prototyping when appropriate. This early feedback from users can be instrumental in guiding the product's development.
Learn more about paper prototyping in this next video:
Prototyping is more than just a step in the design process—it's a strategic investment that yields substantial returns. Here are some of the key advantages:
Risk Mitigation and Enhanced Communication
Prototypes act as safety nets, allowing designers to identify and address potential flaws or usability issues early in the design process. By visualizing and interacting with a prototype, designers can uncover problems that might not be apparent in abstract designs or specifications. This early detection prevents these issues from escalating into costly problems during development or after product launch.
What’s more, prototypes enhance communication by serving as a universal language that facilitates effective communication among designers, developers, stakeholders, and users. A prototype can bridge the gap between abstract concepts and concrete implementations, ensuring everyone has a clear understanding of the product's direction and functionality.
In this video, UX Designer and Author of Build Better Products and UX for Lean Startups, Laura Klein discusses collaboration between cross-functional teams:
Cost-Effectiveness and Accelerated Innovation
Prototyping offers significant cost savings—it enables the early detection of errors, allowing designers to rectify them in an efficient and cost-effective manner. Modifying a prototype is far less costly than reworking a fully developed product, as changes become increasingly expensive as the project progresses.
What’s more, the iterative nature of prototyping accelerates innovation. Designers can rapidly experiment and explore multiple ideas and quickly test and refine them based on user feedback. This iterative process fosters creativity and leads to more innovative and effective solutions.
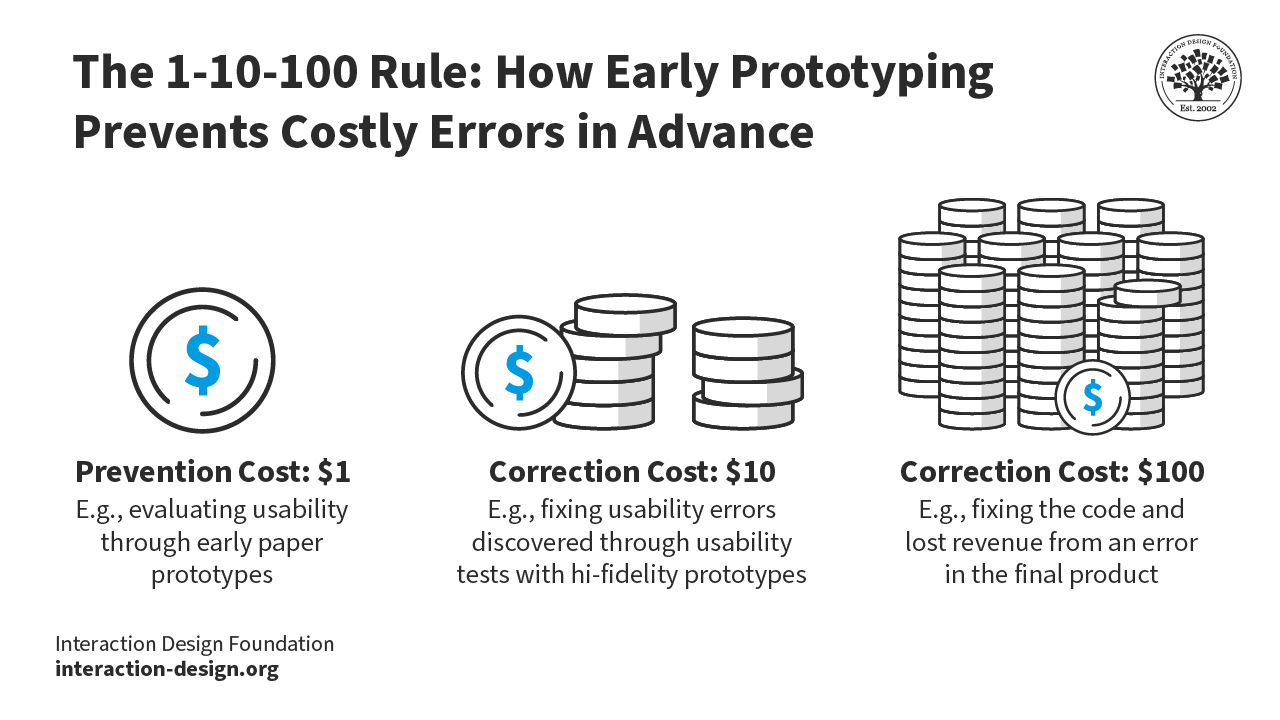
Prototyping can help catch potentially costly errors well in advance.
Stakeholder Buy-In
Prototypes provide a solid foundation for ideation and further improvements, giving all stakeholders a clear picture of the potential benefits, risks, and costs associated with the product's development. This transparency builds trust and fosters collaboration among team members.
User-centered design is at the heart of prototyping. By gathering invaluable feedback from real users throughout the design process, prototypes ensure that the final product aligns with user needs, preferences, and expectations. This user-centric approach not only leads to a more satisfying product but also fosters a sense of ownership among stakeholders which generates excitement and enthusiasm that can help secure support and resources.
Explore User Needs
Prototypes are a valuable tools for experimenting with various aspects of user needs and problems. This can lead to insights into less obvious areas of the user's world, such as unexpected usage patterns or unforeseen accessibility issues. By addressing these issues early on, designers avoid costly oversights and create a more inclusive and user-friendly product.
Reduce Time-to-Market
Finally, prototyping can significantly reduce time-to-market. By minimizing the number of errors that need correction before product release and adapting changes early in the process, the design and development process is streamlined, resulting in a faster launch. This allows companies to gain a competitive advantage and respond more quickly to market demands.
How to Understand Fidelity: Low-Fidelity vs Mid-Fidelity vs High-Fidelity Prototyping
Fidelity refers to the level of detail and functionality of a prototype. Usually, this will depend on the product’s development stage. A prototype can provide a wide view of the entire system or subsystem (called a horizontal prototype – e.g., an entire website) or one that gives a detailed view of just one feature (a vertical prototype – e.g., a checkout process). The level of fidelity of a prototype should be appropriate for presenting to users in user testing so they can give focused feedback.
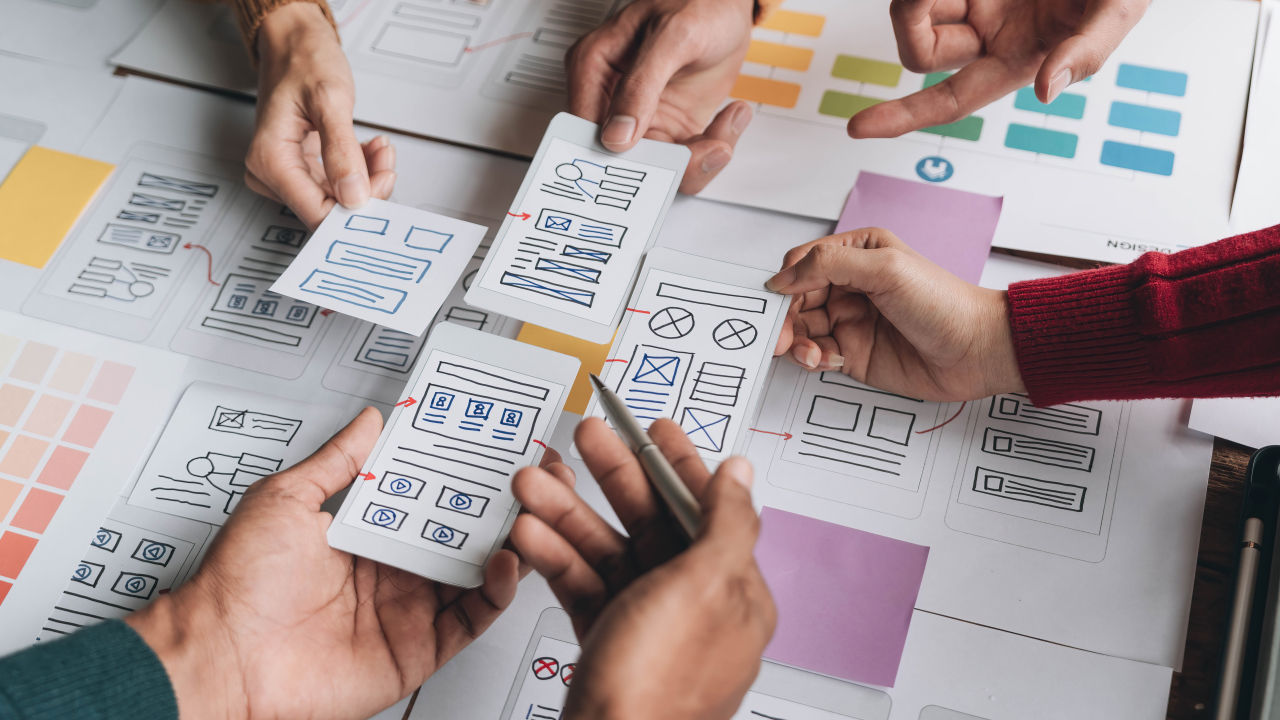
Low-Fidelity Prototypes
© Interaction Design Foundation, CC BY-SA 4.0
Characteristics: Basic, often hand-drawn representations of a product's interface or flow, focusing on the core concept and user journey rather than visual details.
Examples: Paper prototypes, sketches, wireframes.
Pros: Fast and cheap to create; disposable; easy to make changes and test new iterations; provide a quick overview of the product; anyone can produce them; encourage design thinking as they are visibly not finalized.
Cons: Lack of realism can make it difficult for users to provide feedback; results from early versions may be hard to apply to the final product; lack of interactivity deprives users of direct control, requiring them to imagine how they would use the product; can oversimplify complex issues.
Best for: Early-stage concept exploration, brainstorming, and gathering initial user feedback on basic functionality and flow.
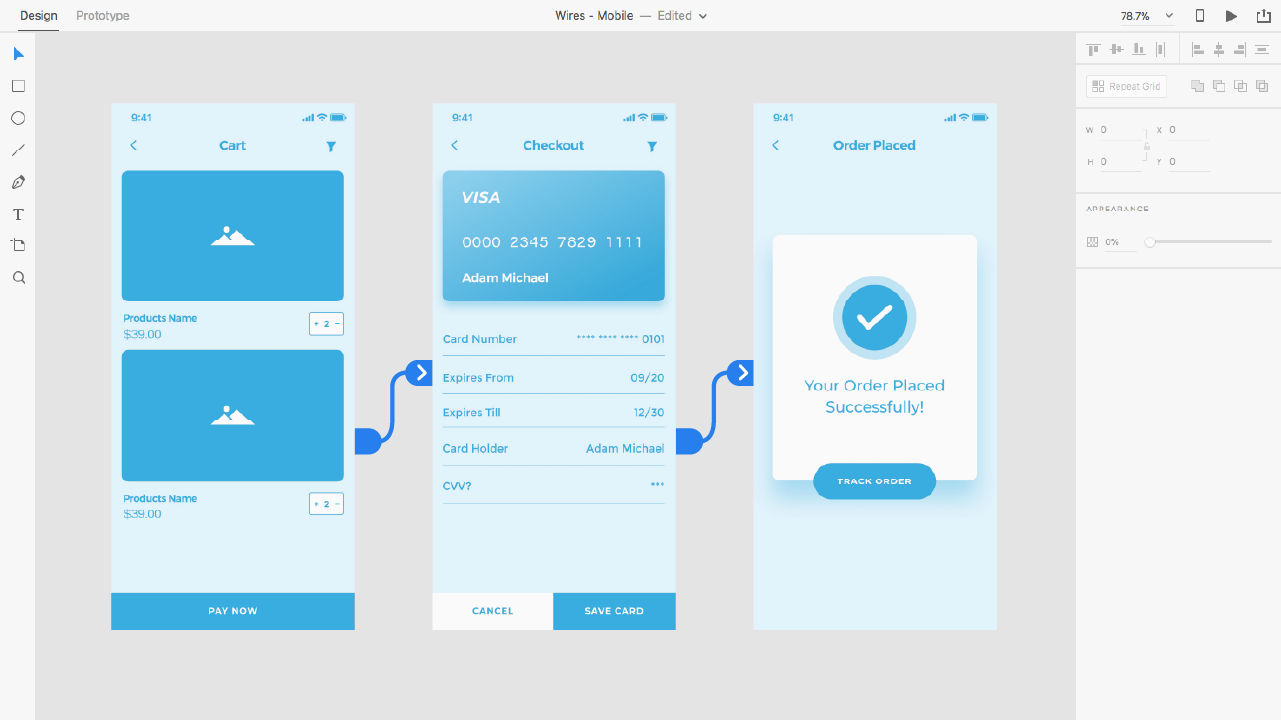
Mid-Fidelity Prototypes
© Interaction Design Foundation, CC BY-SA 4.0
Characteristics: Bridge the gap between low and high fidelity, offering a more interactive and detailed representation. They typically include some visual design elements and basic interactions.
Examples: Clickable wireframes, interactive mockups, basic animations.
Pros: Provide a more realistic user experience than low-fidelity prototypes; allow for testing of basic interactions; relatively quick to create compared to high-fidelity versions.
Cons: May still lack visual polish and some advanced interactions; can be time-consuming to create compared to low-fidelity prototypes.
Best for: Testing specific features or interactions, refining user flows, and evaluating design concepts with a higher degree of realism.
High-Fidelity Prototypes
© Interaction Design Foundation, CC BY-SA 4.0
Characteristics: Closely resemble the final product, with detailed visuals, interactions, and animations. They aim to simulate the actual user experience as closely as possible.
Examples: Digital prototypes created on software, interactive prototypes with realistic data, fully functional UI elements, microinteractions.
Pros: Engaging—stakeholders experience the vision firsthand and can judge its alignment with user needs; testing yields more accurate, applicable results; versions closest to the final product enable prediction of user reception in the marketplace.
Cons: Longer and costlier to create; users may focus on superficial details rather than content; designers may resist changes due to the investment of time and effort; users may mistake the prototype for the finished product and form biases.
Best for: Usability testing, evaluating the overall user experience, gathering detailed feedback on the final design, and demonstrating the product to stakeholders.
Fidelity is relative—a static mockup of a landing page, for example, is of higher fidelity than sketched cut-outs users can move.
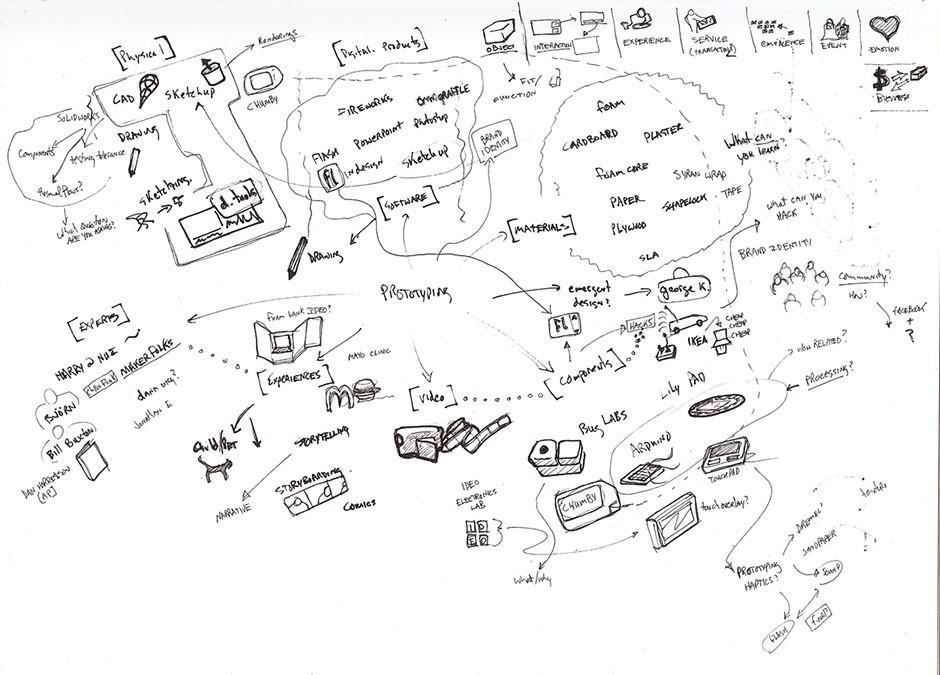
Prototyping in Action: How to Bring Ideas to Life
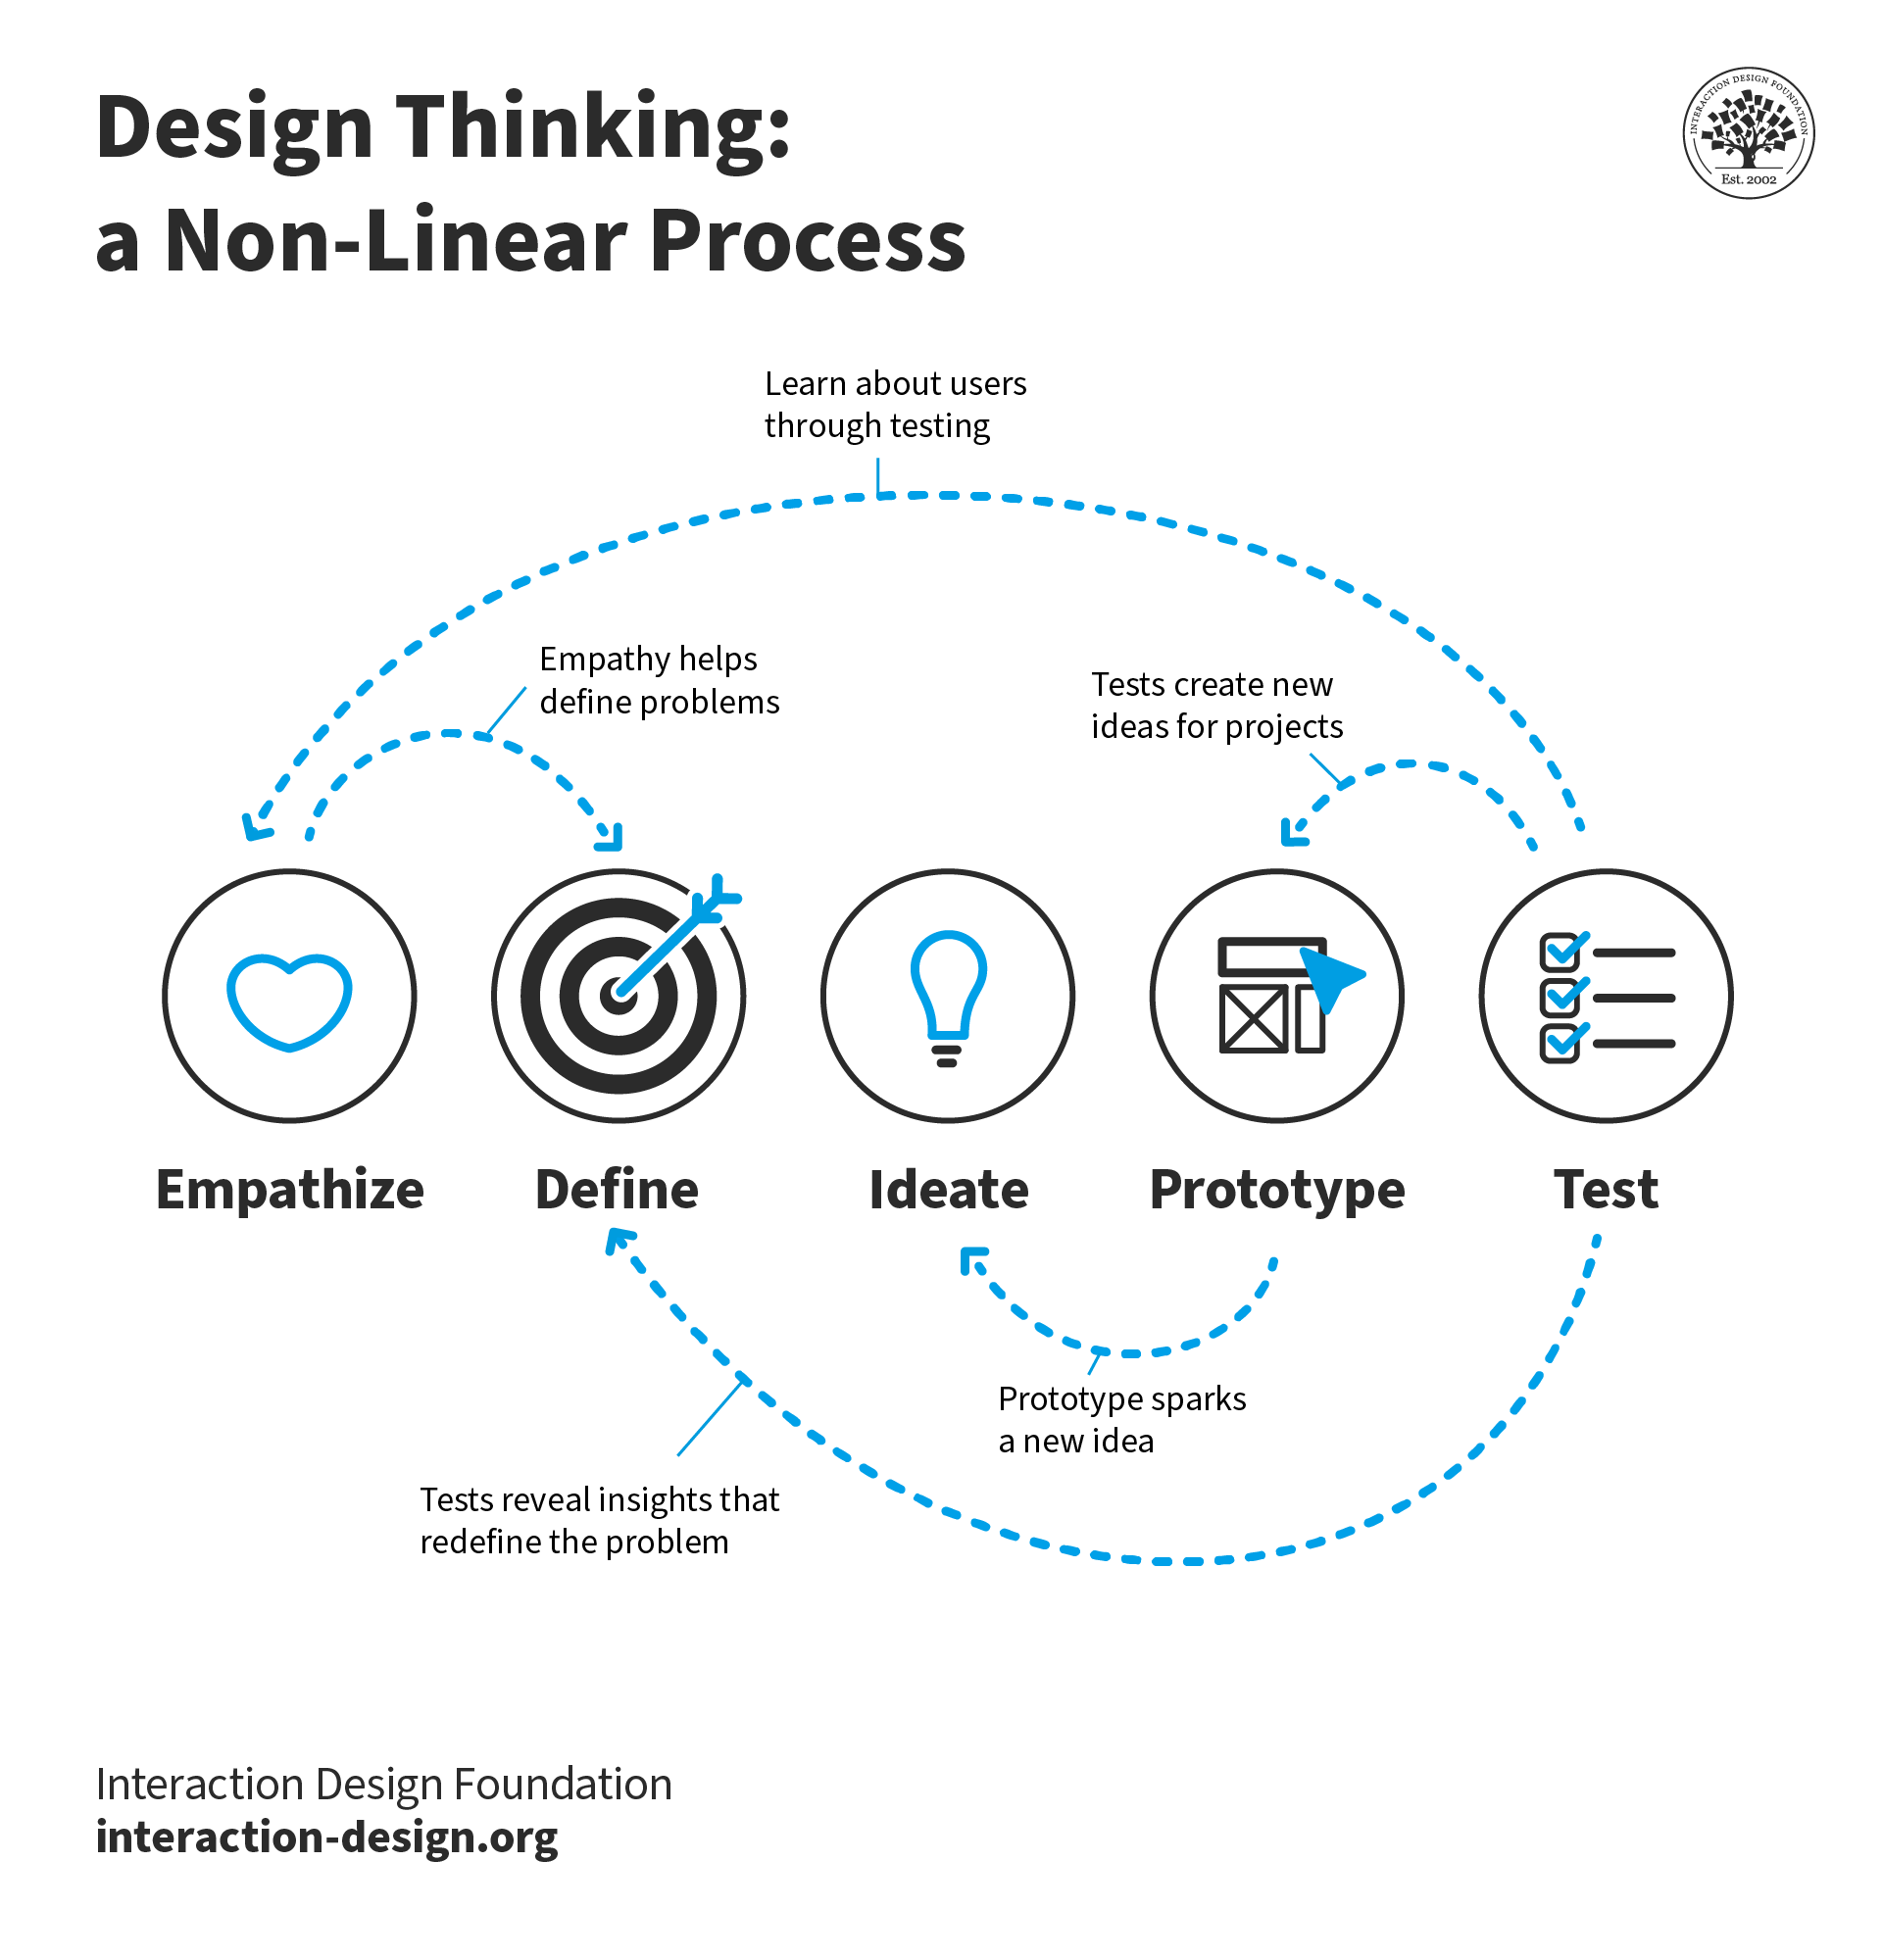
Prototyping is the fourth stage in the Design Thinking process, following empathize, define, and ideate. It’s the crucial point where abstract ideas and user insights are transformed into tangible representations. While many associate prototyping with building a physical or digital model, fundamentally it's about experimentation and learning.
© Interaction Design Foundation, CC BY-SA 4.0
Here's how prototyping connects with other stages of design thinking:
Step 1, Empathize: In this initial stage, designers step into their user’s shoes and try to immerse themselves in their world—this helps them gain a deep understanding of their needs, pain points, and aspirations. The insights gleaned during the empathize stage inform the prototyping process and make sure the prototype addresses real user problems.
Step 2, Define: The define stage synthesizes the research findings and defines a clear problem statement. This problem statement acts as a guiding light for the prototyping process so that efforts are focused on solving the right problem.
Step 3, Ideate: During the ideate stage, designers brainstorm a wide range of potential solutions to the problem statement. These ideas, whether wild or practical, serve as the foundation for prototyping. Prototypes allow designers to test and evaluate these ideas in a tangible form.
Step 5, Test: The final stage involves putting the prototype in front of users and gathering feedback. This feedback loop allows designers to refine and iterate on their design, ensuring the final product meets user needs and expectations.
The design thinking process isn't linear—it's a dynamic framework where designers can move between stages, revisiting previous phases as they gather new insights, challenge assumptions, and refine their solutions.
© Interaction Design Foundation, CC BY-SA 4.0
The Prototyping Process: A Roadmap for Effective Design
The prototyping process guides designers from initial concept to refined design. Here's a general outline of the prototyping process:
Define goals and objectives: Designers clearly articulate the purpose of their prototype, drawing on insights from the empathize and define stages. They determine what questions they are trying to answer, what aspects of the design they want to test, and what user needs they are trying to address.
Choose the right fidelity: Designers select the appropriate fidelity level for their prototype based on their project goals, stage of development, resources, and target audience. They consider whether a low-fidelity paper prototype (suitable for early-stage ideation) or a high-fidelity simulation (ideal for testing close to the final product) best suits their needs.
Create the prototype: Designers build their prototype using the chosen tools and techniques, incorporating the most promising ideas from the ideate stage. They start with the core user flows and interactions, focusing on the most critical aspects of the user experience.
Test and gather feedback: Designers share their prototype with stakeholders and potential users to gather feedback. They encourage constructive criticism and ask open-ended questions to gain insights into their experience and expectations.
Iterate and refine: Based on the feedback received, designers iterate on their prototype. They make necessary changes, refine interactions, and test new ideas. They repeat this process multiple times, continuously testing and refining.
Document and share: Designers document the prototyping process, including iterations, feedback, and decisions made. They share this documentation with their team and stakeholders to maintain transparency and provide a valuable reference for future development.
Test and validate: Designers conduct user testing with their final prototype to validate their design decisions and identify any remaining issues. This can involve usability testing, A/B testing, or other research methods. This stage is an essential step to ensure that the final product truly meets user needs.
Implement and launch: Once designers have thoroughly tested and refined their prototype, they incorporate the design into the final product development. They continue to monitor user feedback after launch to continue iterating and improving the user experience.
How to Showcase Prototypes in a Design Portfolio
© Interaction Design Foundation, CC BY-SA 4.0
A well-crafted design portfolio is essential for designers to showcase their skills and experience to potential employers or clients. Including prototypes in a portfolio can elevate their work and demonstrate their ability to translate ideas into tangible experiences. Here's how designers can effectively integrate prototypes into their case studies:
Choose the best work: Designers should select case studies, projects and prototypes that best represent their skills and highlight their problem-solving abilities.
Provide context: Clearly explain how the prototype fits into the overall project narrative. Describe the problem being addressed, the specific goals the prototype aimed to achieve, and how it contributed to the final solution.
Use a variety of formats: Showcase different types of prototypes within a case study, such as initial sketches, wireframes, and interactive mockups. This illustrates the evolution of the design and the iterative process undertaken.
Interactive prototypes: If feasible, include interactive prototypes that allow viewers to click through and experience the user flow firsthand. This approach brings the case study to life and showcases the interactive aspects of the design.
Video demonstrations: Consider creating short video demonstrations of interactive prototypes as part of the case study presentation. This is particularly effective for showcasing complex interactions or animations that might be difficult to convey through static images.
User testing results: If available, incorporate summaries of user testing results or feedback received on prototypes directly into the case study. This demonstrates a commitment to user-centered design and the ability to gather and apply feedback to improve the design.
Link to live projects: If any of the prototypes have been developed into live products or websites, include links to them within the case study. This allows viewers to see the real-world impact of the design work and understand how the prototype translated into a final product.
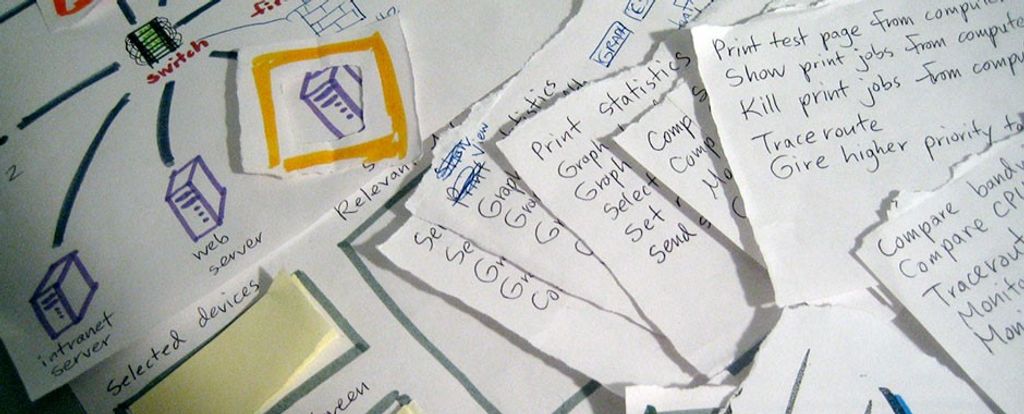
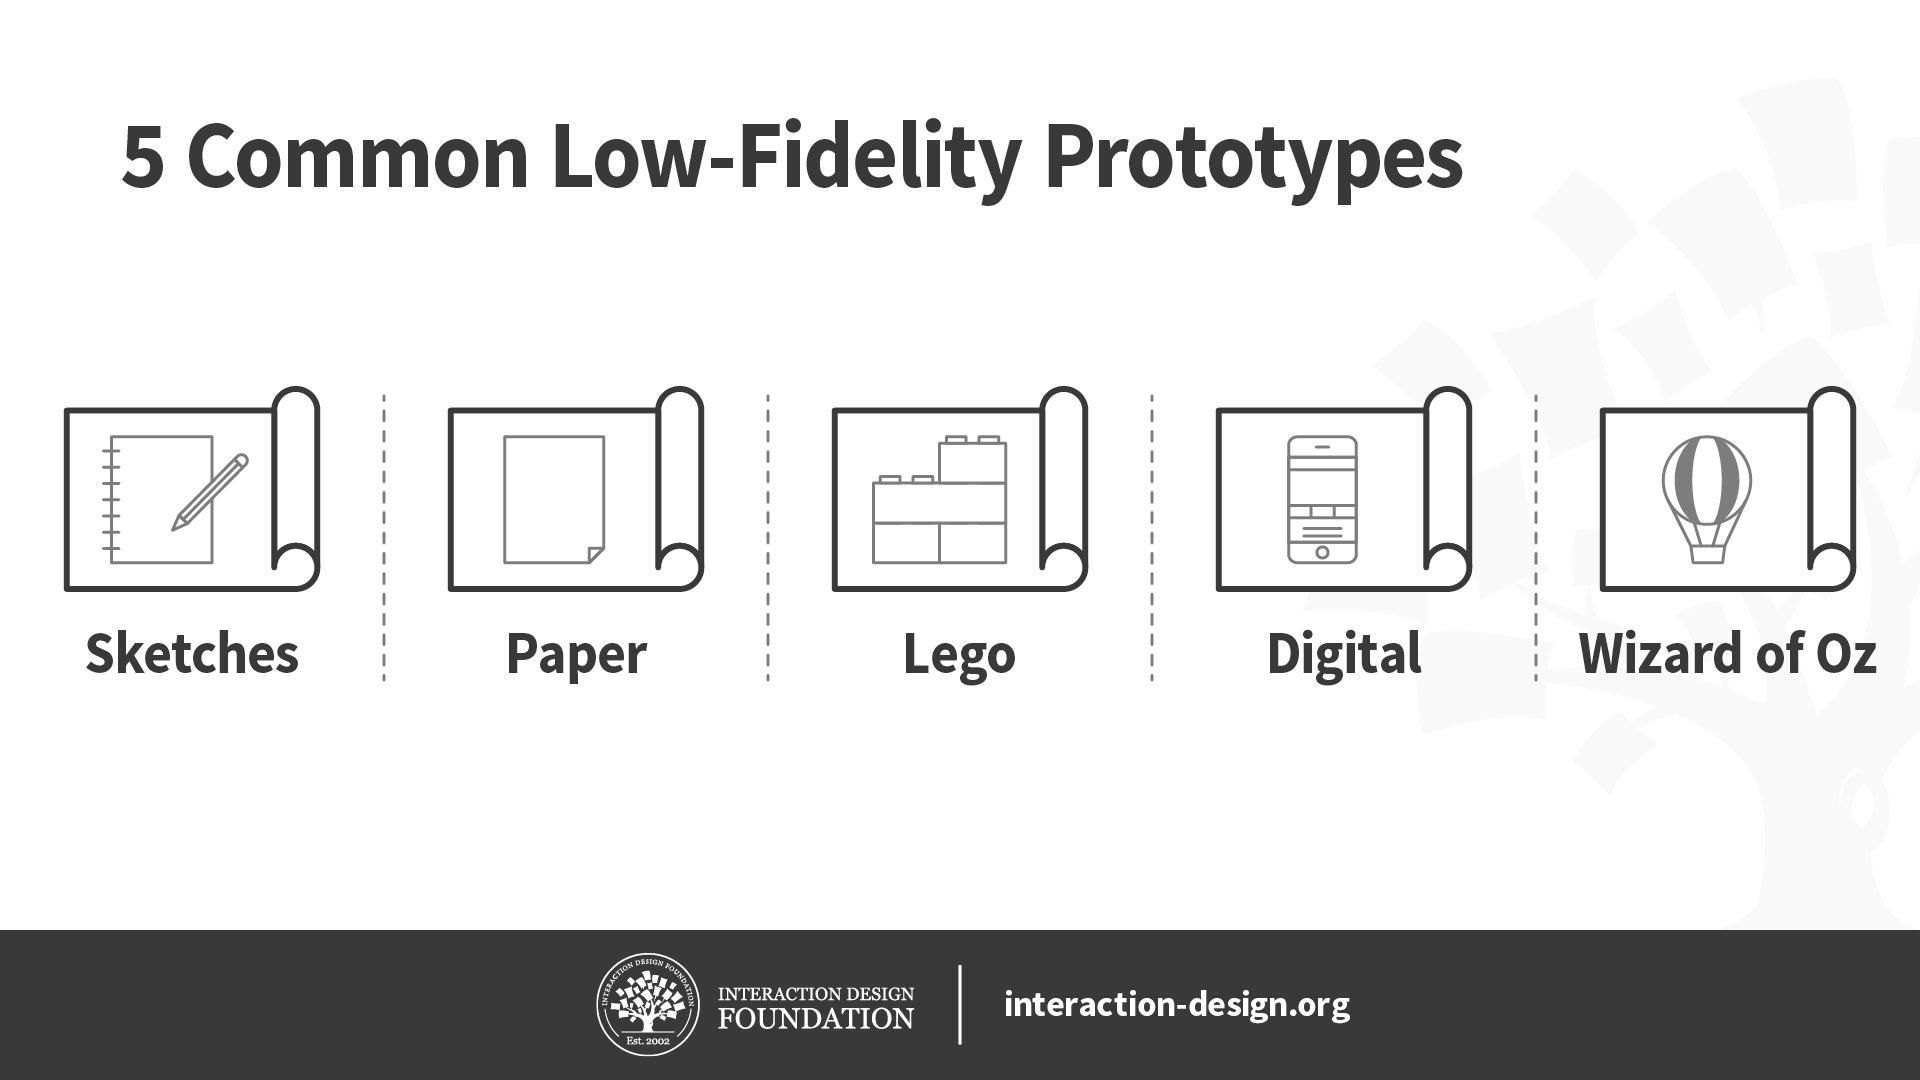
Five Common Low-Fidelity Prototyping Methods
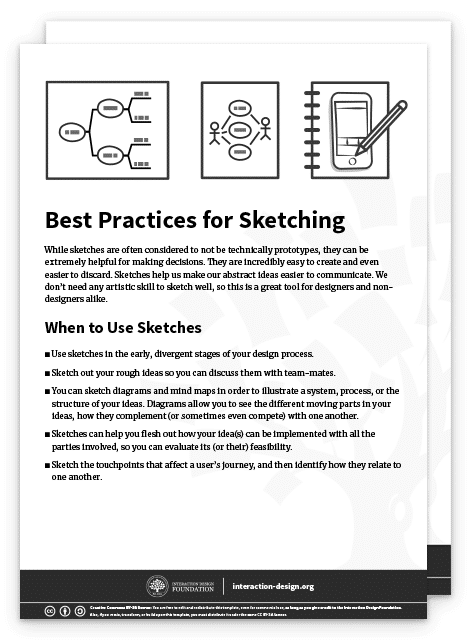
Sketches: Although not technically prototypes, sketches serve as a powerful tool for making decisions. They are incredibly easy to create and discard, making them accessible to designers and non-designers alike. Use sketches in early, divergent stages of the design process to explore ideas, communicate concepts with teammates, and visualize user journeys.
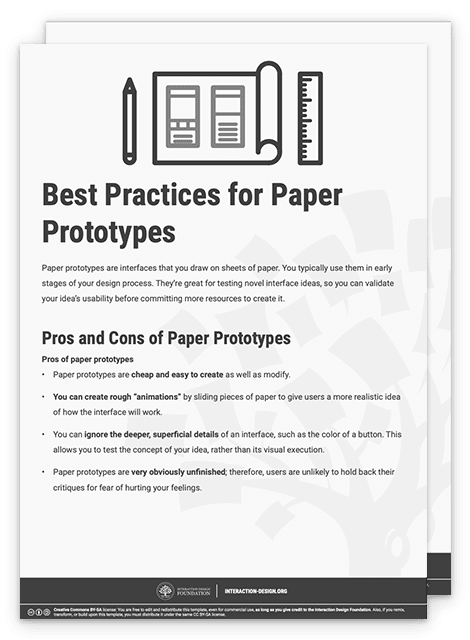
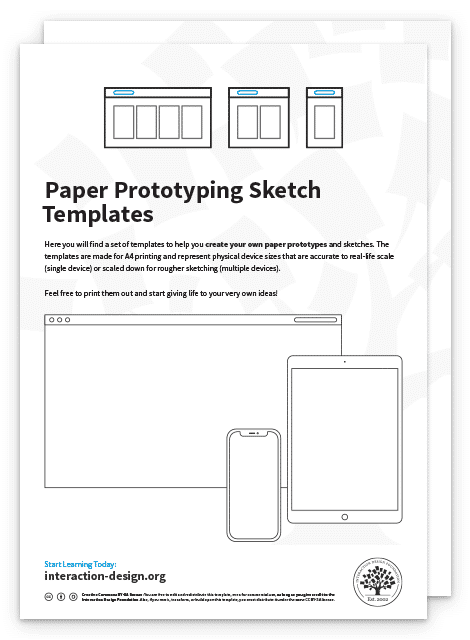
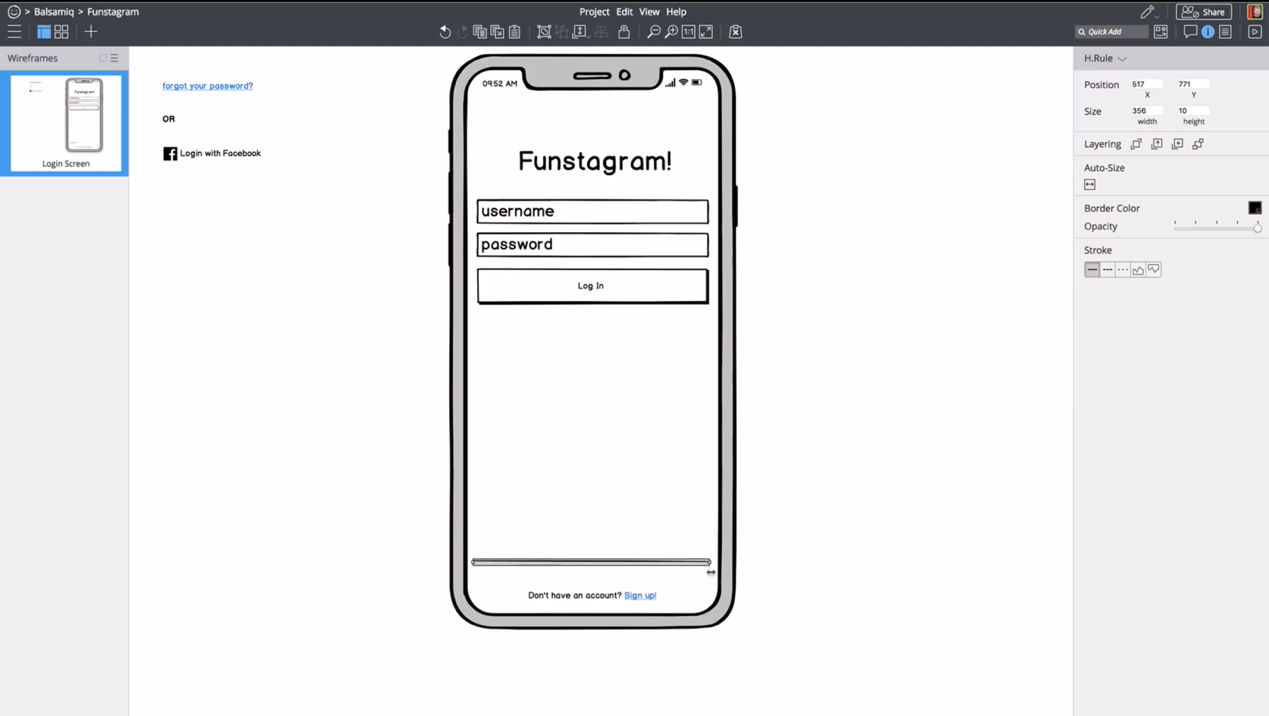
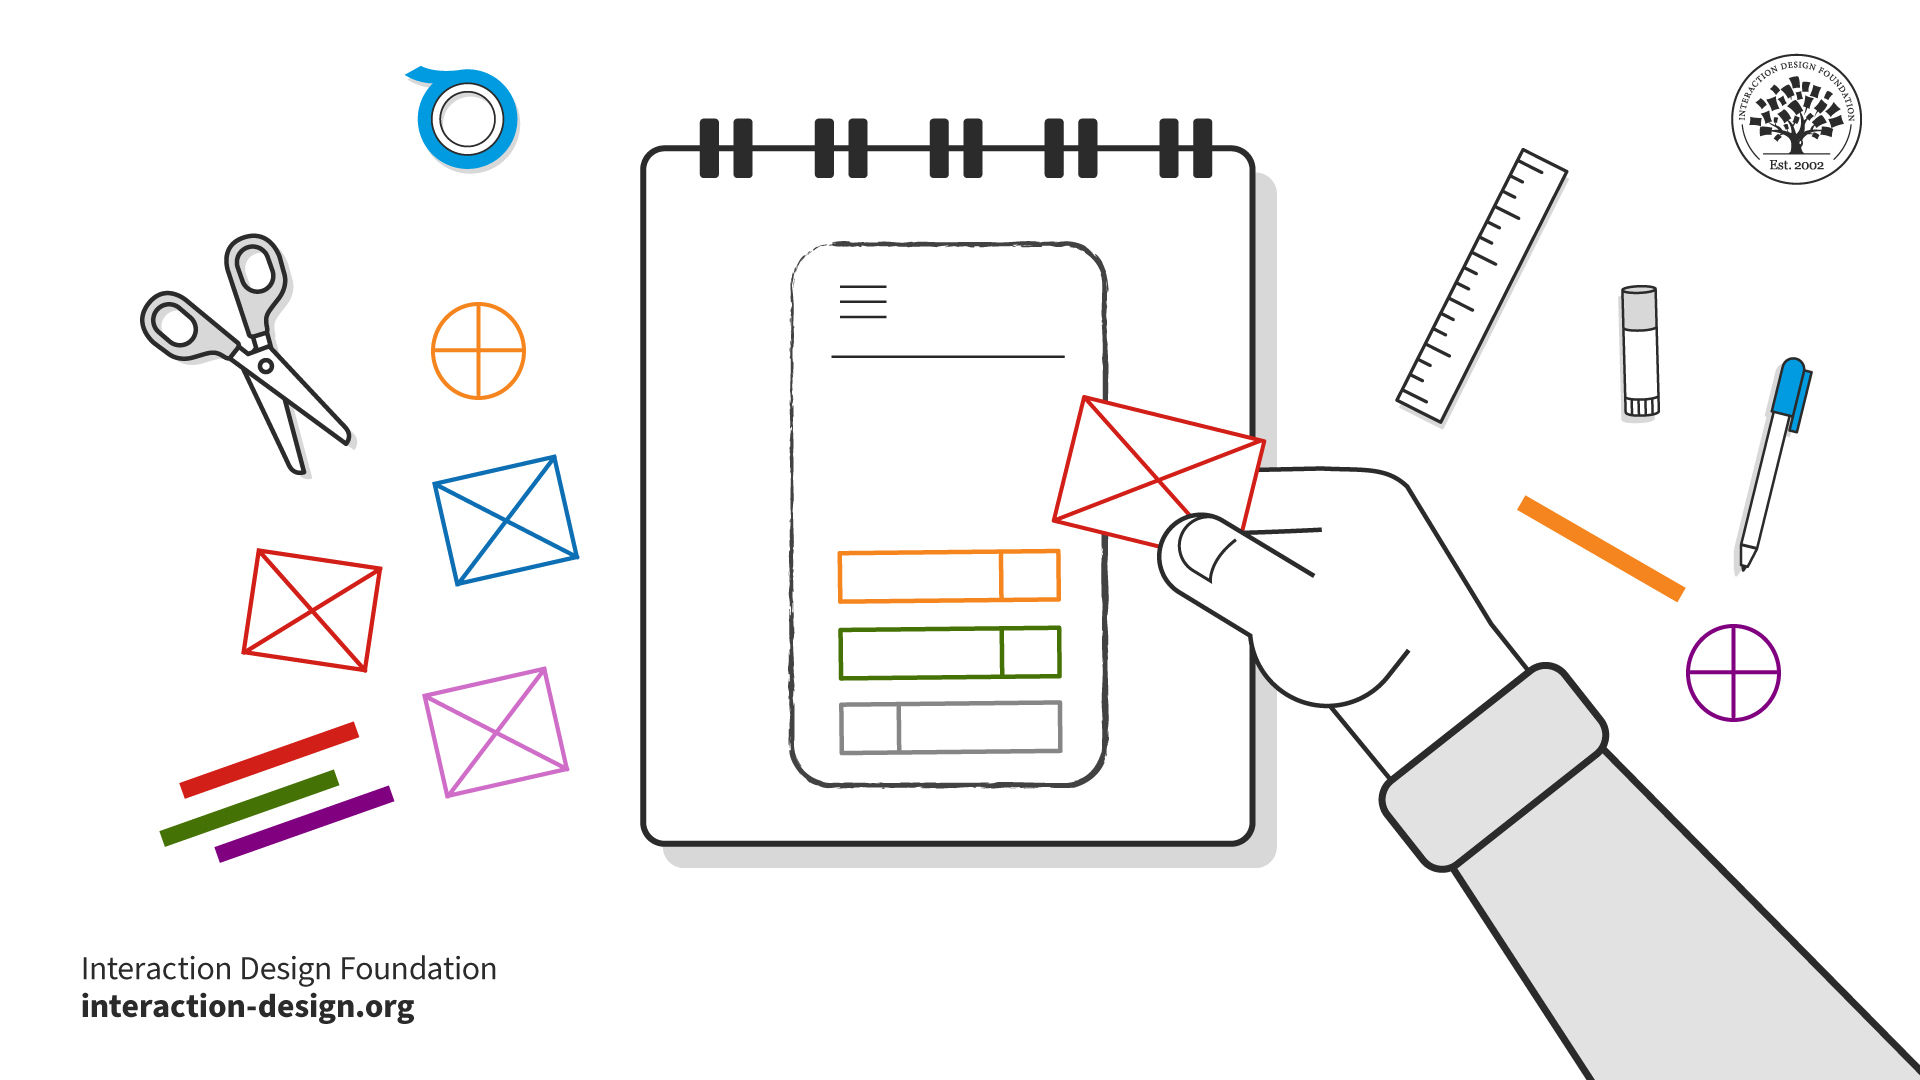
Paper Prototypes: These tangible prototypes involve creating rough "animations" by sliding pieces of paper to simulate user interactions. They are inexpensive, easy to modify, and allow designers to focus on the core concept rather than visual details. Paper prototypes are best suited for testing novel solutions and user flows, but are less helpful for evaluating standard UI patterns.
© Interaction Design Foundation, CC BY-SA 4.0
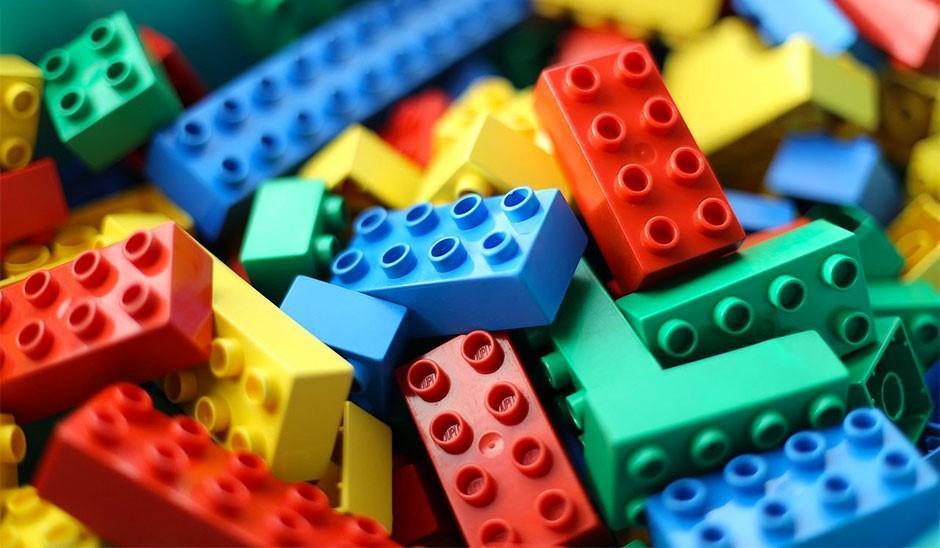
Lego Prototypes: Lego bricks offer a unique way to quickly create physical prototypes, especially for tangible products. Their versatility and ease of modification make them ideal for experimenting with form and function. Use Lego prototypes for empathizing with users, recreating user journeys, or visualizing complex systems.
Digital Wireframes: Wireframes are simple, bare-bones illustrations of an app or website's layout and functionality. They allow designers to focus on content structure and user flows, ignoring visual aspects. Wireframes are best used after the initial ideation phase, when the focus shifts to information architecture, layout, and space allocation.
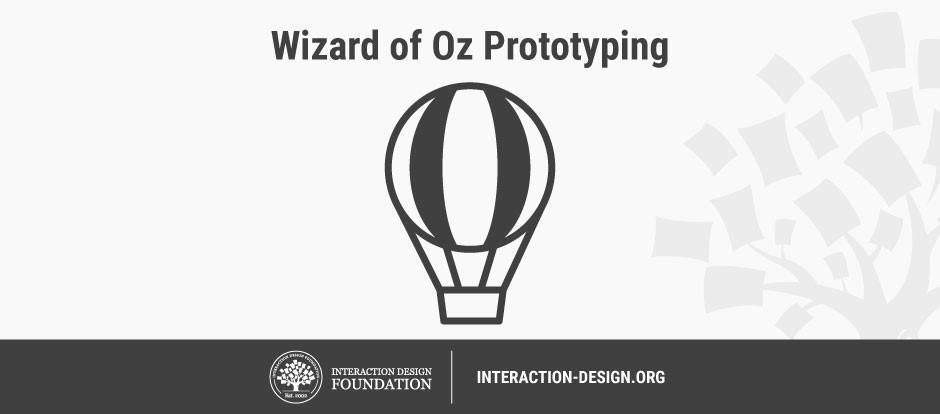
Wizard of Oz Prototypes: These prototypes simulate complex interactions or functionality that may be difficult to implement early in development. A team member acts as the "wizard," manually controlling responses or actions behind the scenes. Wizard of Oz prototypes are useful for testing complex systems, future technologies, or voice interfaces, providing realistic user feedback without building a fully functional prototype.