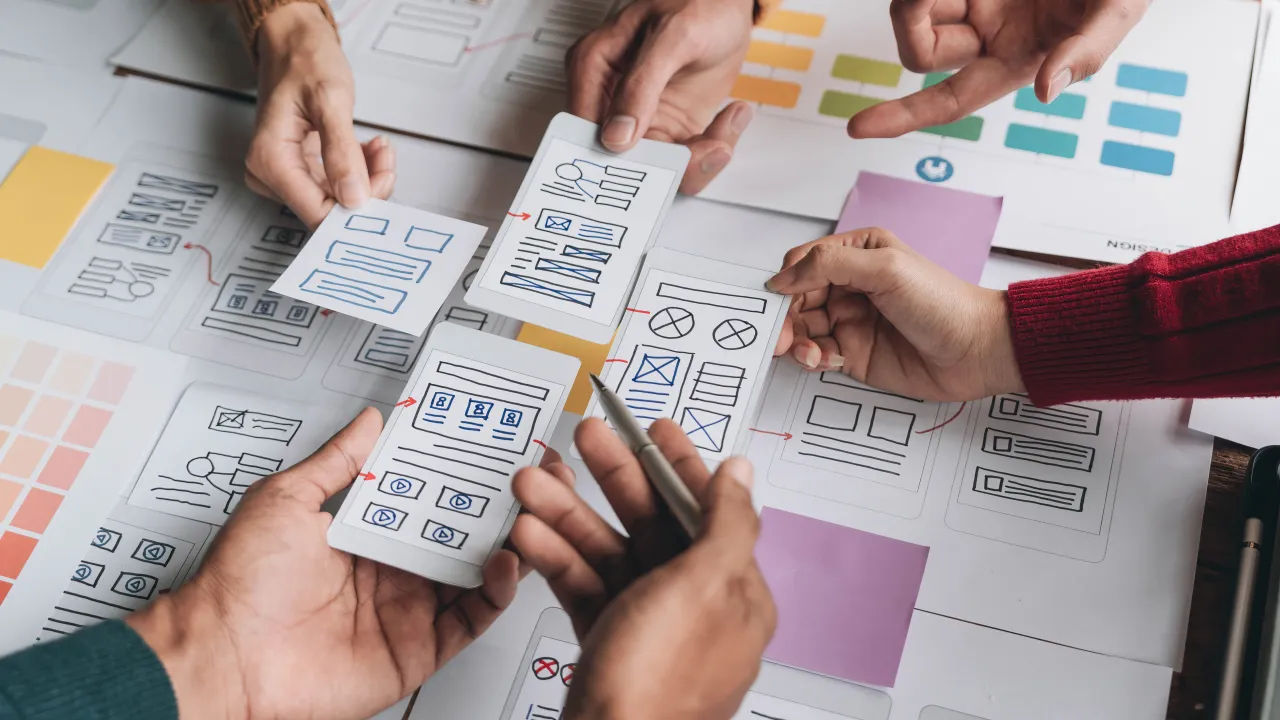
Rapid prototyping in user experience (UX) design is a methodology where designers quickly create a scaled-down version of a product to test its functionality and design. Designers use various tools such as wireframing software, prototyping tools and even paper sketches to visualize and iterate on the user interface. After testing prototypes, designers can gather valuable feedback early in the design process.
Author and Human-Computer Interaction Expert, Professor Alan Dix explains prototyping in this video:
What is an Example of Rapid Prototyping in Action?
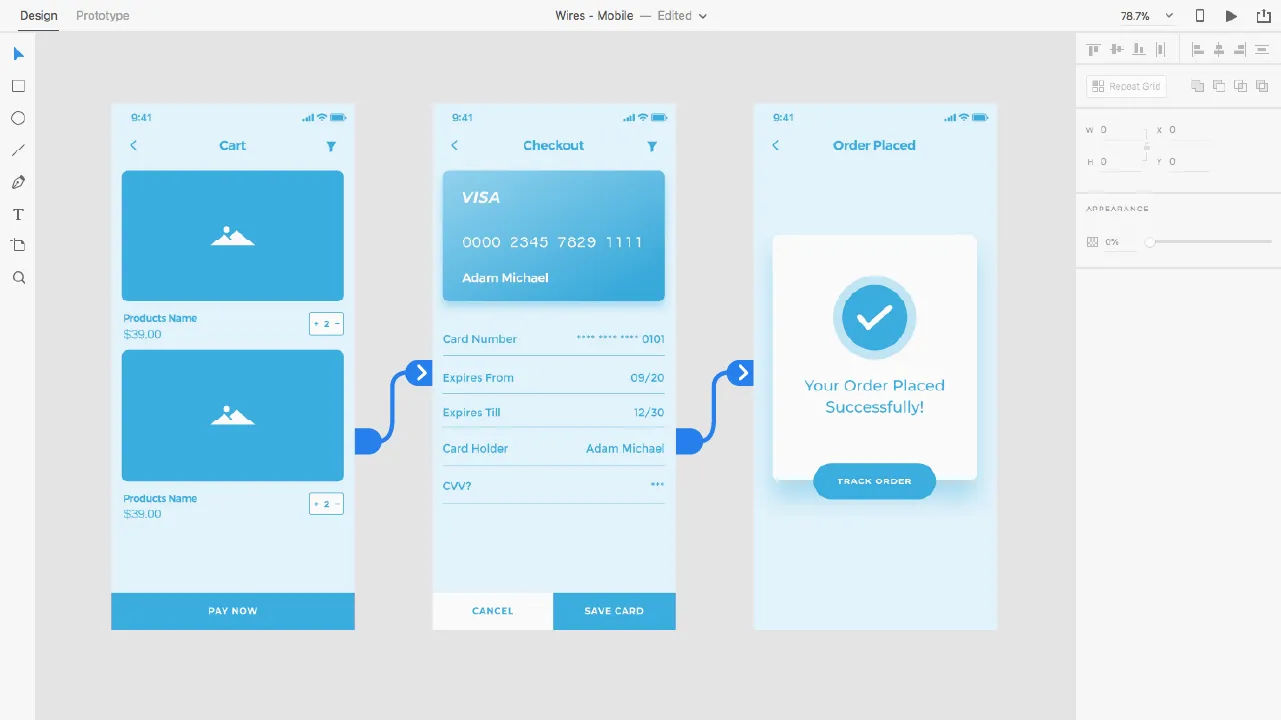
ProtoPie stands out particularly for its robust capabilities in both low- and high-fidelity prototyping. This tool offers a seamless transition—one that benefits the design process greatly.
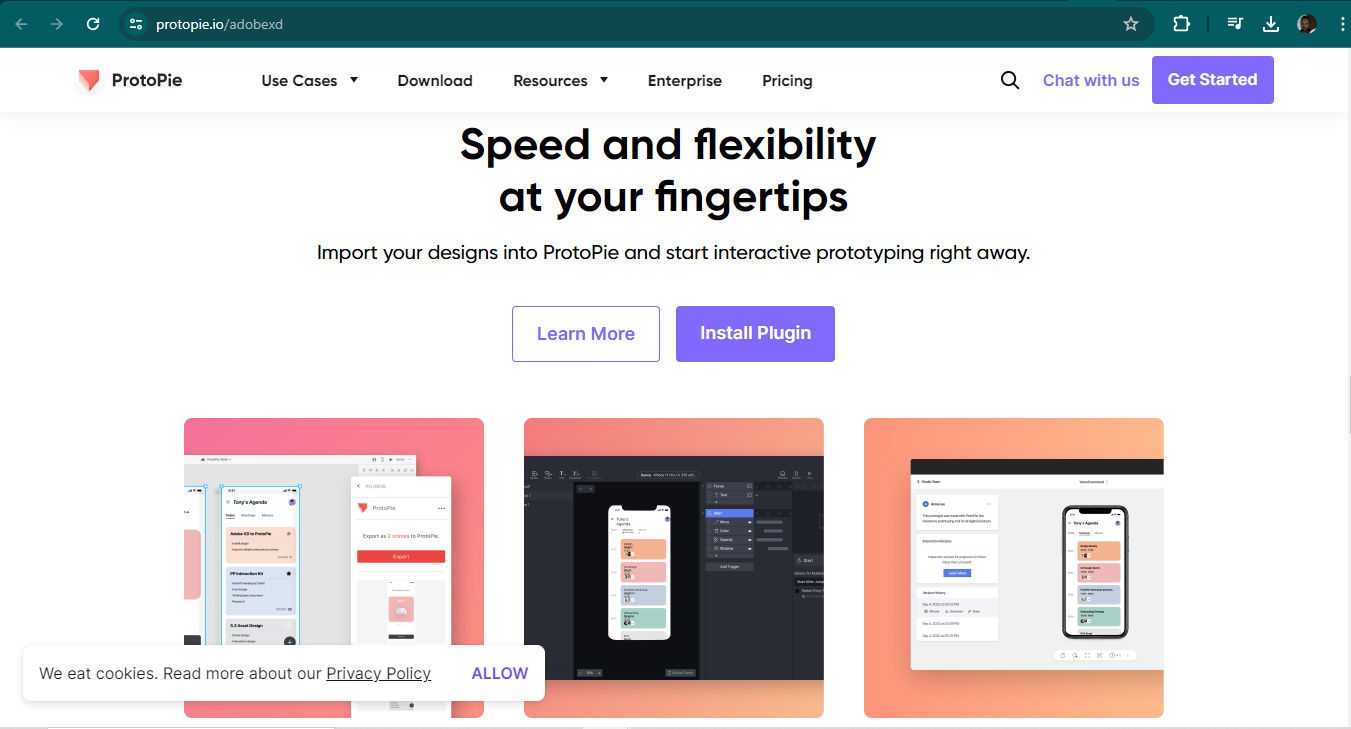
© ProtoPie, Fair Use
Low-fidelity: Designers often make a start with basic sketches or wireframes within ProtoPie. This stage sets a foundational layout and interaction flow and doesn’t go into detailed design elements—and it permits quick assembly and modifications based on initial feedback.
High-fidelity: As the design evolves, ProtoPie makes it easy for designers to make high-fidelity versions of prototypes. These versions bring in detailed, interactive elements that mimic the final product. They give a realistic experience for user testing.
Interactive elements and real-time testing: One of ProtoPie's standout features is how it can integrate complex interactions and animations without effort. Designers can make real-time changes and then immediately test these interactions. That’s crucial to validate both the user experience and the interface’s usability.
Collaboration and sharing: ProtoPie also supports collaboration. It lets team members share prototypes and collect feedback efficiently. This feature ensures that all stakeholders are on the same page and can view iterations as they evolve. It therefore fosters a cohesive development process.
Market validation: When teams use rapid prototyping tools—such as ProtoPie—they can quickly gauge user reactions to and the market viability of a product. This early testing phase is a vital thing for teams to make informed decisions about product adjustments before they finalize the design.
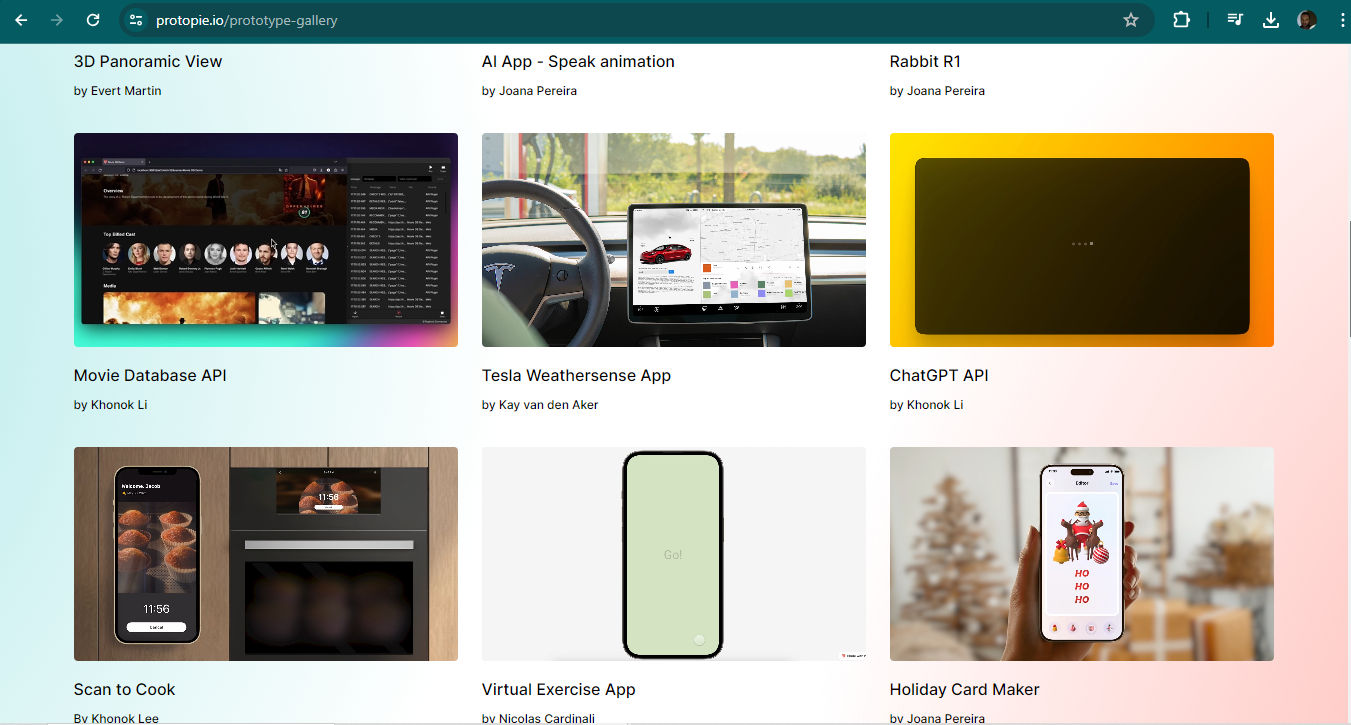
Some examples of designers’ work with ProtoPie.
© ProtoPie, Fair Use
Why is Rapid Prototyping Important in UX Design?
Rapid prototyping in UX design is a quick and cost-effective approach to build and test product versions. For example, when designers use rapid prototyping methods, they create and validate iterative mock-ups with users, stakeholders and teammates. They leverage tools like Figma and Prott for quick assembly. This process means they can validate prototypes—and swiftly so. They can optimize the user experience earlier as they focus on user requirements and expedite feedback cycles.
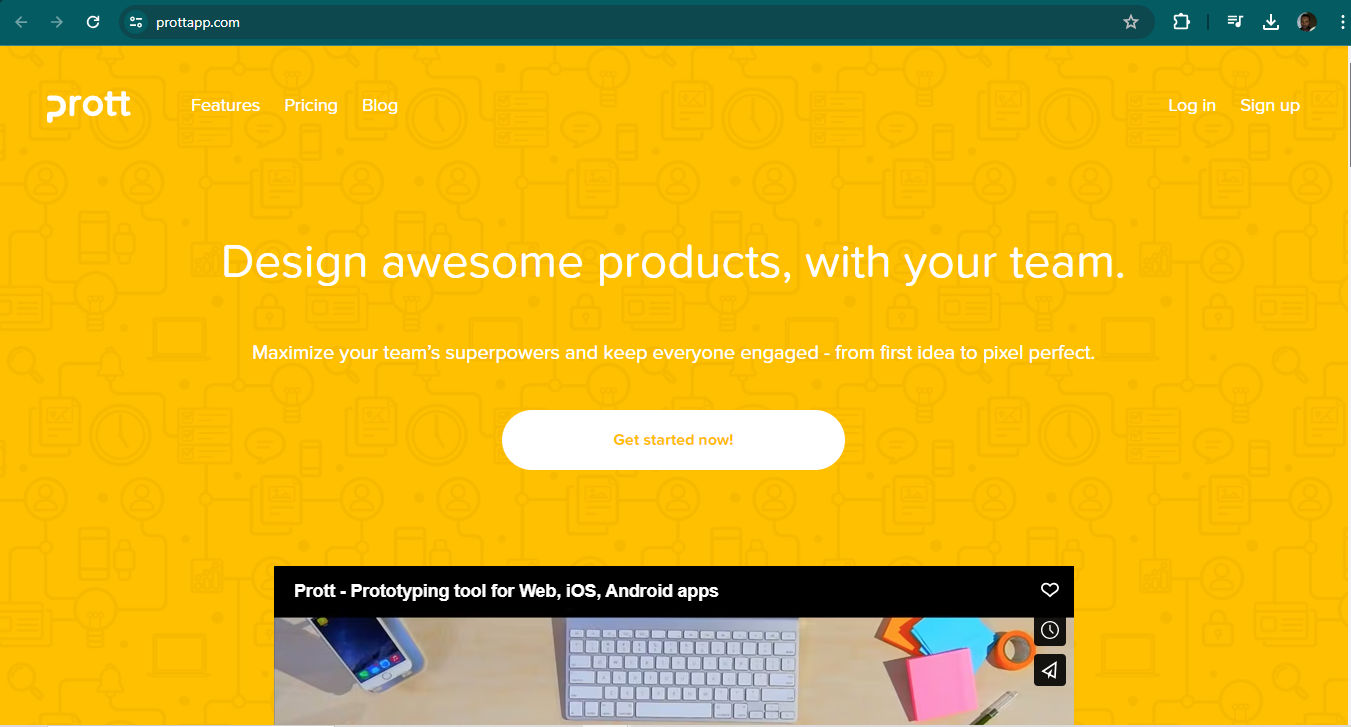
© Prott, Fair Use
Origins and Evolution of Rapid Prototyping
Rapid prototyping really originated in the manufacturing sector—with physical products. It leveraged technologies such as 3D printing to make physical models more efficiently. Its adoption in UX design has—however—been a transformative one. The proliferation of digital tools is the driving force behind it. This transition from physical to digital has let designers implement rapid prototyping across various stages of product development, from websites to mobile apps—and beyond.
Process and Methodology
In their product design process—such as rapid prototyping in design thinking—designers:
1. Create the Prototype
Initially—designers may use low-fidelity methods like sketches or wireframes, and then move on to high-fidelity prototypes that use sophisticated software tools.
2. Share and Review
Designers share their prototypes with stakeholders and users to collect their feedback. Feedback is a crucial thing to bring on board for the next iteration.
3. Revise the Prototype
Designers refine and make the prototype better based on the feedback they get. They repeat the cycle until the design meets the standards needed.
Watch our video on design thinking for more insights into that design process:
Tools and Technologies
Modern UX prototyping tools have revolutionized the capabilities of rapid prototyping towards better design solutions for target audiences. They allow for high-fidelity prototypes that do not compromise on speed or quality. Rapid prototyping software and tools such as ProtoPie and Figma enable designers to create detailed and interactive prototypes quickly. What’s more, they facilitate more effective usability testing and stakeholder engagement.
UX Strategist and Consultant, William Hudson explains usability testing:
What are The Benefits of Rapid Prototyping?
When teams work rapid prototyping into their UX design workflow, they can achieve a more agile and responsive design process. And it’s something that can lead to finished products and services that better meet user needs and market demands. This methodological approach highlights how important adaptability and user-centered design in modern digital projects are. When teams do rapid prototyping, it:
1. Accelerates Feedback and Iteration
a. Early and frequent feedback: Rapid prototyping greatly helps the design process since it lets designers collect user feedback early and often—meaning that user insights drive the development from the outset. What’s more, it reduces the likelihood of costly changes later in the development cycle. Therefore, good product ideas can translate that bit faster into software development.
b. Iterative improvement: As rapid prototyping allows designers to quickly revise and retest prototypes, it fosters a cycle of continuous improvement. Rapid prototyping techniques empower designers to fine-tune their approach so they can accurately meet user flows, needs and expectations a great deal more quickly. From there, designers can tweak functional prototypes so the final product runs more closely in line with—and even exceeds—user expectations and requirements.
2. Helps with Cost and Time Efficiency
a. Reduced development costs: Rapid prototyping for product design helps designers identify—as well as address—issues early in the design process. So, it helps avoid the extensive costs to make changes later on in product development.
b. Speed to market: Teams can develop and test prototypes very quickly—and this lets brands move from concept to market much faster than traditional methods. That sort of speed can give a competitive advantage in fast-paced industries.
3. Promotes Enhanced User Experiences
a. User-centered design: Rapid prototyping revolves around users’ feedback—so product development really does focus on the users’ needs and usability. This user-centric design approach is critical for teams to work on and make successful products.
b. Validated user needs: When teams do frequent testing with real users during the prototyping phase, it helps confirm that the product features really do stand in line with users’ demands.
4. Promotes Broad Accessibility and Collaboration
a. Inclusive participation: The simplicity and speed of rapid prototyping enable a broader range of stakeholders to participate actively in the product development process—including people without technical skills such as in rapid prototyping web design.
b. Enhanced communication: Prototypes give a visual model that helps make sure that all team members and stakeholders have a clear understanding of the product and its features—improving decision-making, too.
Watch as UX Designer and Author of Build Better Products and UX for Lean Startups, Laura Klein explains collaboration between cross-functional teams:
5. Fosters Innovation and Creativity
a. Exploration of new ideas: The quick turnaround time of rapid prototyping encourages teams to experiment with novel features and interactions.
b. Adaptability to change: Rapid prototyping supports a flexible approach to product development—it makes it easier to adapt to new information and changing market conditions.
© Interaction Design Foundation, CC BY-SA 4.0
What are Key Stages in the Rapid Prototyping Process?
Stage 1: Prototype
Make sketches and wireframes: Begin with simple sketches or wireframes to outline the basic structure and layout of the product. The focus here is on low-fidelity prototypes that help users and stakeholders visualize the basic concept and not let design details get in the way to distract them.
Make mid-fidelity prototypes: These prototypes have more detailed interfaces and interactions—and they’re essential for teams to validate the product’s functionality and behavioral aspects.
Make high-fidelity prototypes: These are detailed and closely resemble the final product. They’re often interactive. Teams use them to validate visual and design decisions. These prototypes permit in-depth usability testing—and typically turn up later in the design process.
William Hudson explains wireframing in this video:
Stage 2: Review
Collect feedback: Share the prototype with users, stakeholders and team members to collect comprehensive feedback. It’s a crucial stage for designers to understand the user experience and find any usability issues.
Evaluate interactions: Specifically focus on how users interact with the prototype. Part of this means to assess the intuitiveness of the navigation, the clarity of the content and the responsiveness of interactive elements.
Design Director at Societe Generale, Morgane Peng explains important points about feedback in design:
Stage 3: Refine
Incorporate feedback: Adjust the prototype based on the feedback received. This might mean that designers have got to tweak the design, rework the navigation or refine interactive elements.
Conduct iterative testing: Return to test the revised prototype with the same user group or new participants—to validate changes and make sure that the modifications have indeed made the user experience better.
Make final adjustments: Make any last-minute adjustments to make sure that the prototype’s as close to the final product as it can be. Focus on both functionality and aesthetics.
What are Best Practices and Tips for Rapid Prototyping?
Designers and design teams can maximize the advantages of rapid prototyping when they:
1. Define Scope and Fidelity Level
It’s important for designers to start with the scope of their prototyping efforts, and decide on the fidelity level that’s appropriate for each stage. High-fidelity prototypes aren’t always needed—especially in the early stages. Focus on core functionalities and user interactions—rather than detailed aesthetics. Early-stage designs benefit from interactive wireframes—and they’re a quick and efficient method to test basic functionality and flow before designers move on to introduce high-fidelity elements.
2. Use Existing Assets
To speed up the prototyping process, reuse existing design assets and components wherever possible. This approach doesn’t just save time. It maintains consistency across different parts of the product, too.
3. Emphasize Speed Over Perfection
Aim to create fast prototypes, not perfect ones. The goal of rapid prototyping is to quickly gather feedback and iterate—not produce market-ready digital products on the first go.
4. Choose the Right Tools
Select prototyping tools that offer flexibility, ease of use and strong collaboration features. Tools such as Sketch and Figma provide extensive libraries of reusable assets and templates. These can greatly accelerate the prototyping process.
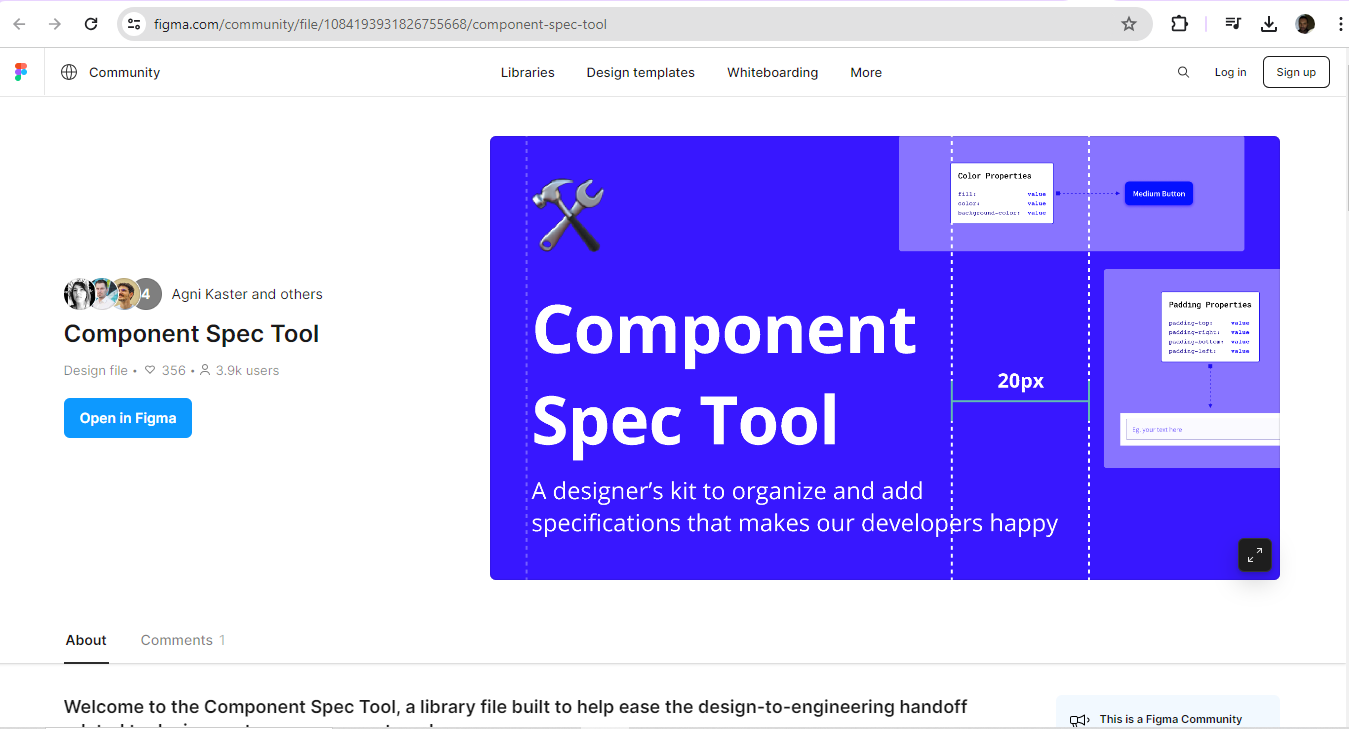
Figma is one example of helpful software to make prototypes with.
© Figma, Fair Use
5. Manage Prototype Creep
To avoid scope creep—clearly define what the prototype will and won’t include. It’s important to stick to the essential features that need testing. Resist the temptation to add more functionality than that originally planned. And it’s very important to aim for simple interactions first. So, designers really should start with simple interactions to make sure that the core functionality works the way they intend. They can develop and refine complex interactions in iterations that come later.
6. Do Collaborative Prototyping
Involve stakeholders in the prototyping process. Collaboration tools that are integrated within prototyping software can facilitate real-time feedback and iterative design—something that can enhance both the overall design quality and stakeholder buy-in.
7. Conduct Effective Review Sessions
Start each prototype review session with a clear disclaimer about what the prototype aims to achieve and what aspects of it are open for feedback. This helps to focus the discussion and keep unnecessary critiques on unfinished elements from cropping up.
8. Avoid Over-Prototyping
Don’t waste resources on prototyping features or functionalities that aren’t feasible or outside the project's scope. Focus on elements that offer the most value and are critical ones for user experience.
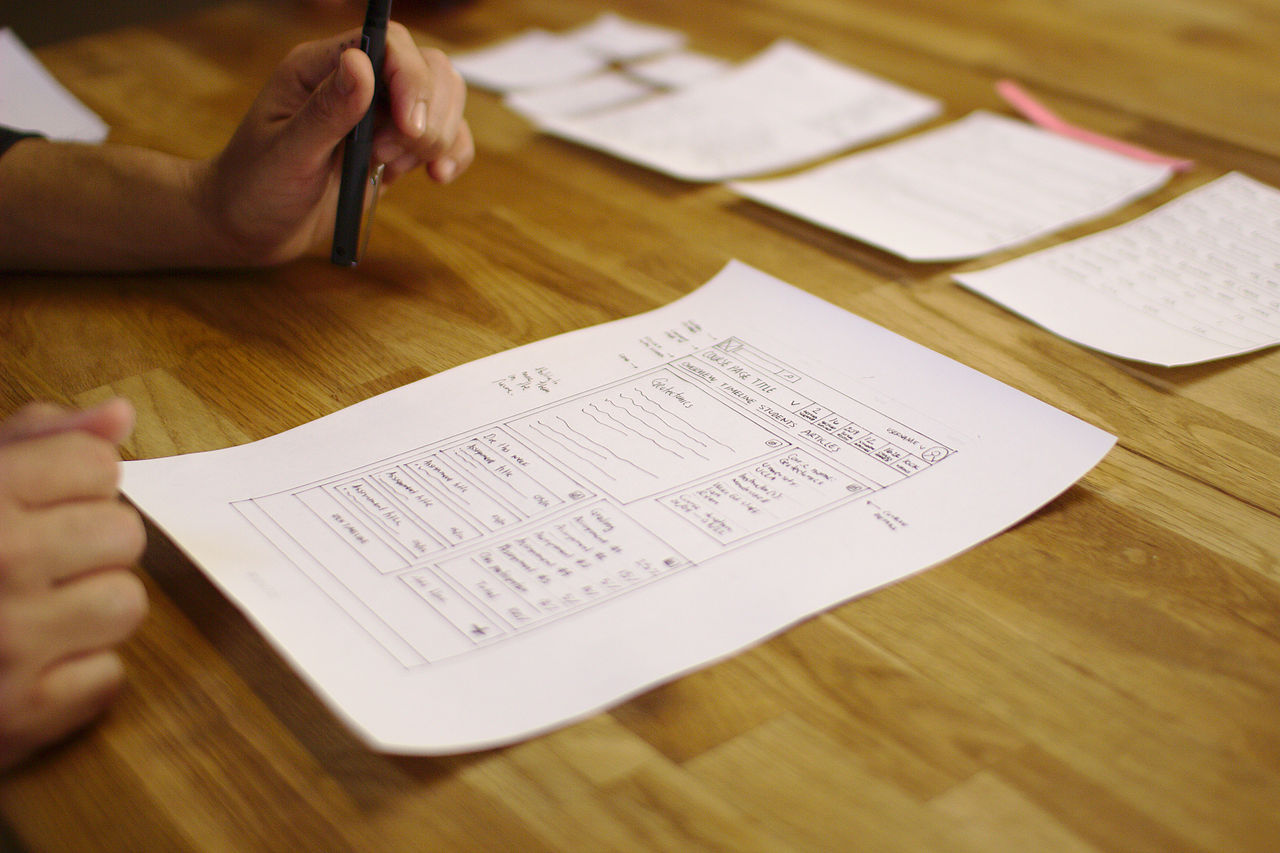
High-fidelity prototypes should enter the scene at the right time with the right level of detail for testing.
© Interaction Design Foundation, CC BY-SA 4.0
9. Plan for Iterations
Designers should plan iterations carefully. Determine how many iterations are feasible within the project timeline and what changes or improvements each iteration should focus on. One vital thing is to remember the core parts of iterating continuously. Designers and their teams need to build, test and learn—so each iteration refines the prototype closer and closer to the final product. What’s more, it’s essential to adapt based on feedback. As the team integrates new feedback, the prototype evolves. This may lead to new insights and further modifications.
Laura Klein explains how Agile teams iterate:
10. Remember Security and Intellectual Property
It’s essential to think about the security implications of prototyping tools. That’s especially the case when designers and teams work with sensitive information. In-house prototyping can often provide better control over intellectual property and data security than outsourcing can.
11. Allow for Realistic Delays and Setbacks
It’s helpful to factor realistic delays into a prototyping schedule. Not every phase will go as planned. Plus, some ideas may need more refinement than others.
12. Consider Prototype Interaction and Behavior
Designers have got to keep the appropriateness of fidelity level in mind. For example, mid-fidelity prototypes should focus on interactivity and validating the behavior of elements and screens. This level of detail is crucial for them to understand how users will interact with the product. Then, it’s important to use high-fidelity prototypes towards the end of the process. That’s how to validate visual and design decisions. These prototypes should look and function as close to the final product as possible—to make sure that all elements are well integrated and user-friendly.
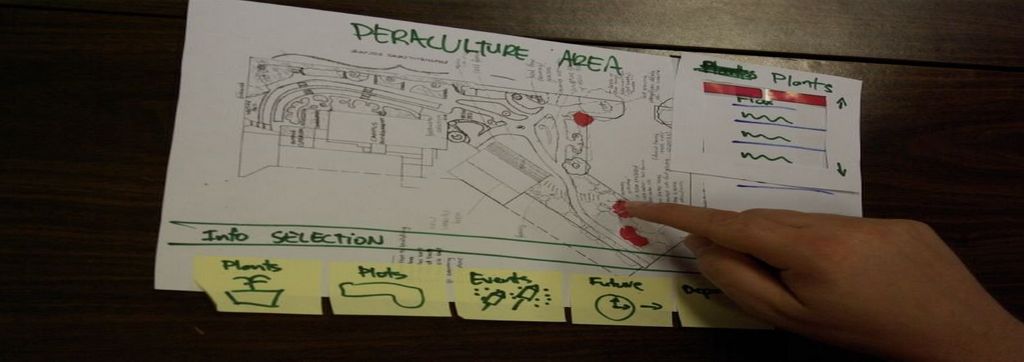
Paper prototyping is a form of rapid prototyping.
© Interaction Design Foundation, CC BY-SA 4.0
Overall, rapid prototyping can serve as a powerful tool to boost efforts in iteration, collaboration and more. Design teams who apply it in their work process can fast-track their way to better solutions, faster. The key is to use it insightfully and keep an eye on several factors as teams come together to produce prototypes they can fine-tune into winning products.